If you’re a fan of our wildly popular “Ultimate Fudgy Brownies” recipe, you’re going to absolutely adore these chocolate wafer cookies. Just like those brownies deliver If you’re on the hunt for a dessert that marries simplicity with gourmet appeal, look no further than these chocolate wafer cookies. With each bite delivering a satisfying snap followed by a burst of rich, dark chocolate, these cookies redefine what it means to indulge in a treat. In this guide, you’ll uncover the secrets behind their delicate texture, learn a foolproof recipe, and discover creative ways to serve and store your homemade delights.
Table of Contents
What Are Chocolate Wafer Cookies?
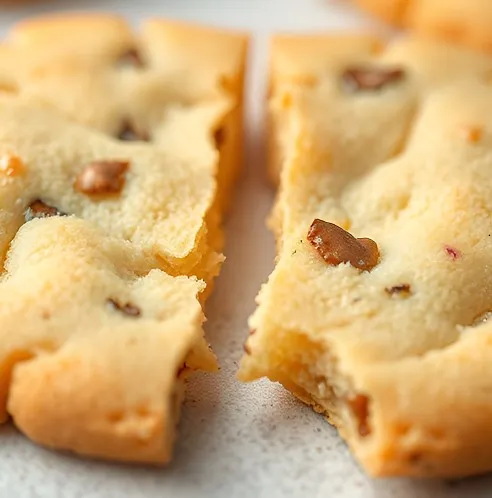
Imagine a treat so thin and refined that it almost whispers of elegance, yet packs an intense chocolate punch. These cookies are not your traditional dessert; they are crafted to be paper-thin and incredibly crisp, much like a delicate wafer that shatters with the slightest pressure. The nickname “wafer” comes from their resemblance to those airy, light crackers—but with an indulgent twist. Their minimalistic, flat design ensures that every mouthful delivers a perfect balance between crunch and melt-in-your-mouth richness. While some liken the name to humble communion wafers, rest assured these cookies elevate the ordinary into an extraordinary chocolate experience.

The Allure: Why You’ll Fall in Love With These Cookies
There are plenty of reasons to make these cookies a staple in your baking repertoire. Here are just a few highlights:
- Unparalleled Texture & Flavor: The cookies feature a uniquely crisp bite balanced by an unmistakable, deep chocolate profile that isn’t overly sugary. This harmonious blend creates a sophisticated treat that suits even the most discerning chocolate lovers.
- Budget-Friendly Indulgence: Say goodbye to overpriced store-bought alternatives that often fall short in flavor and texture. With basic pantry staples like flour, cocoa powder, and butter, you can craft a batch of cookies that outshines any packaged version—both in taste and in cost.
- Versatility in Presentation: Whether you prefer your cookies dunked in a glass of milk, paired with a steaming cup of coffee, or even sandwiched with ice cream, these wafer cookies adapt beautifully to any serving style. They’re the perfect canvas for culinary creativity.
A Step-by-Step Journey to Wafer CookiesPerfection
Crafting these cookies may sound like a delicate art form, but with clear instructions and a few pro tips, you’ll be enjoying them in no time. Our recipe is structured to be straightforward while preserving the artisanal quality of a home-baked treat.

Key Ingredients & Their Roles Wafer Cookies
- All-Purpose Flour (1 cup or 120g): Forms the foundation and structure, ensuring that the cookie remains crisp rather than cakey.
- Unsweetened Cocoa Powder (½ cup or 50g): The star ingredient that imparts that intense chocolate flavor. Whether using Dutch-processed for a richer color or natural cocoa for a more assertive bite, quality matters.
- Granulated Sugar (¾ cup or 150g): Provides necessary sweetness while contributing to the overall crunch.
- Baking Soda (½ teaspoon): A small lift that helps to distribute leavening evenly, subtly improving texture.
- Salt (¼ teaspoon): Elevates the flavors and enhances the depth of the chocolate.
- Unsalted Butter (½ cup or 113g, softened): Adds creaminess and a tender mouthfeel without melting completely into the dough.
- Egg (1 large): Acts as a binding agent, melding the dry and wet ingredients will create a cohesive, workable dough.
- Vanilla Extract (1 teaspoon): Not only boosts the chocolate flavor but also delivers an aromatic warmth.
- Milk (2-4 tablespoons, optional): Sometimes necessary to adjust dough consistency, added gradually to ensure just the right texture.
Detailed Preparation Method for Wafer Cookies
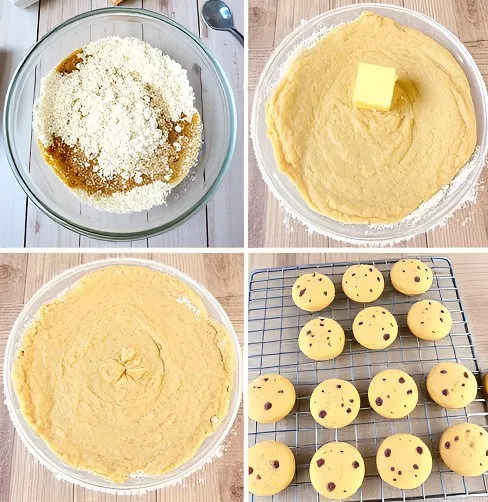
- Mix the Dry Ingredients: In a medium bowl, whisk together the flour, cocoa powder, sugar, baking soda, and salt. This step removes clumps and ensures every cookie receives a balanced burst of flavor.
- Integrate the Butter with Care: Instead of a lengthy creaming process, cut the softened butter into the dry mix using your fingertips or a pastry cutter. Aim for a coarse crumb texture where the butter is evenly distributed in tiny pockets.
- Incorporate the Wet Elements: In a small bowl, beat together the egg and vanilla extract. Gently fold this blend into your dry mixture until a crumbly dough begins to form. Note that the dough may appear dry initially—a sign that minimal extra liquid isn’t needed.
- Chill for Success: Wrap the dough and chill it in the refrigerator for at least 30 minutes. This crucial step firms up the butter and makes it easier to roll out your dough into thin, even layers.
- Roll Out to Perfection: Dust your work surface lightly with flour. Take small portions of the chilled dough and roll them out to approximately 1/8 inch thickness. Consistent thinness is key to achieving that signature crisp texture during baking.
- Bake & Cool: Bake the cookies in a preheated oven (the temperature and time will depend on your oven’s characteristics, but a low and slow bake at around 250°F to 280°F for just a few minutes is ideal). Once baked, transfer them to a cooling rack. Cooling is paramount as it allows the cookies to firm into an ultimate crisp state.
Creative Ways to Serve Your Chocolate Wafer Cookies
While these cookies are perfect on their own, their versatility allows you to experiment with numerous serving options that elevate your dessert presentation:
- Classic Pairings: Enjoy your cookies with a tall glass of cold milk or a robust cup of coffee. The contrast between the cool liquid and the crisp cookie makes for a timeless treat.
- Ice Cream Sandwiches: Transform these cookies into a gourmet ice cream sandwich. Simply align two wafers around a scoop of your favorite ice cream. For extra texture, roll the edges in finely chopped nuts or chocolate chips.
- Gourmet Desserts: Crumble the cookies over desserts such as yogurts, puddings, or layered parfaits to add a delightful crunch and a deep chocolate note.
- Innovative Pie Crusts: Grind the cookies into a fine powder, mix with melted butter, and press into a pie plate. This infusion of chocolatey goodness sets the perfect base for a decadent chocolate pie or cheesecake.
- Layered Dessert Masterpieces: Use the cookies as delicate layers in a dessert lasagna. Alternate them with layers of pudding, whipped cream, or luscious cream cheese frosting. Let the flavors meld by chilling overnight before serving.
Pro Tips and Expert Wafer Cookies Variations
Baking is as much about the experience as it is about the final product. Here are some advanced tips to ensure every batch reaches perfection:
- Precision in Measuring: Avoid packing flour into your cup directly; instead, use the “spoon and level” technique to guarantee accurate measurements. This simple habit can dramatically affect the cookie texture.
- Chill Beyond the Minimum: If your schedule permits, extend the chilling period. Even a couple of hours in the refrigerator can help strengthen the dough’s structure, ensuring a uniformly thin roll-out.
- Experiment with Additions: For a twist on tradition, try adding a pinch of espresso powder to intensify the chocolate flavor. If you’re feeling adventurous, incorporate finely chopped dark chocolate or a handful of cocoa nibs into the dough.
- Dough Variations: For those with dietary restrictions, consider gluten-free flours or vegan substitutes. Replace butter with high-quality coconut oil (chilled for consistency) and opt for flaxseed mixtures as a binding agent in place of eggs. Tailoring the recipe to your needs invites creativity without compromising the essential crisp and chocolate intensity.
- Adjusting for Humidity: In humid climates, consider slightly increasing the flour or reducing any added milk. Humidity can sometimes make the dough too soft, hindering the thin, crisp texture that defines these cookies.
Storing and Reviving Your Masterpieces
Proper storage is essential for preserving the cookies’ irresistible crispness:
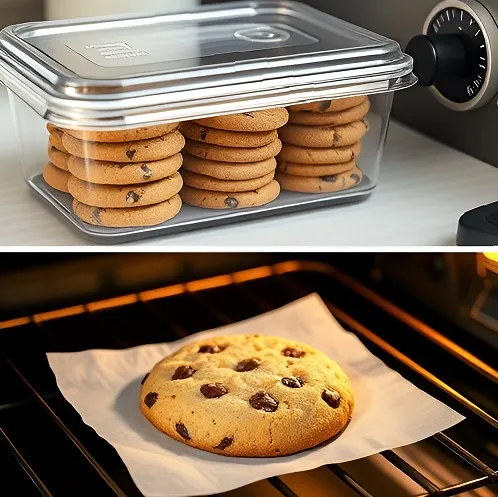
- Airtight Containers Are Key: Once your cookies have completely cooled, transfer them into an airtight container. This simple step prevents moisture from softening their delicate structure.
- Layer with Parchment: If your storage container requires layering, slip sheets of parchment paper between batches. This avoids any unwanted sticking and helps maintain that perfect snap.
- Room Temperature is Best: Store your cookies at a cool, dry room temperature rather than in the fridge, where condensation might cause them to lose their crunch.
- Reviving Soft Cookies: Should your cookies lose a bit of their crispness, place them in an oven preheated to a low temperature (around 250°F/120°C) for 2-3 minutes. Keep a close watch to avoid over-toasting, then allow them to cool back to room temperature on a wire rack.

Frequently Asked Questions for Wafer Cookies
- Why won’t my dough roll out thinly?
Ensure that your dough is well-chilled before rolling out. Work with small portions at a time and avoid overworking the dough; otherwise, the butter can start to melt. - Can I make these cookies ahead of time?
Yes! They freeze well when stored in a single layer between sheets of parchment. Thaw them gently at room temperature if you’re not serving them immediately. - How do I adjust this recipe for a party?
Double the ingredients and ensure you have enough cool-down space. Consider renting extra baking trays or using multiple oven cycles to accommodate larger batches while ensuring each cookie retains its crisp texture.
Pushing the Boundaries: Creative Twists on a Classic
For those inspired to experiment beyond the basic recipe, consider these creative variations:
- Spiced Chocolate Wafers: Add a dash of cinnamon or a hint of cayenne pepper for an unexpected warmth that contrasts beautifully with the bitter cocoa.
- Nut-Infused Delights: Finely chop toasted almonds or hazelnuts and fold them gently into the cookie dough for an extra crunchy bite that pairs wonderfully with the chocolate.
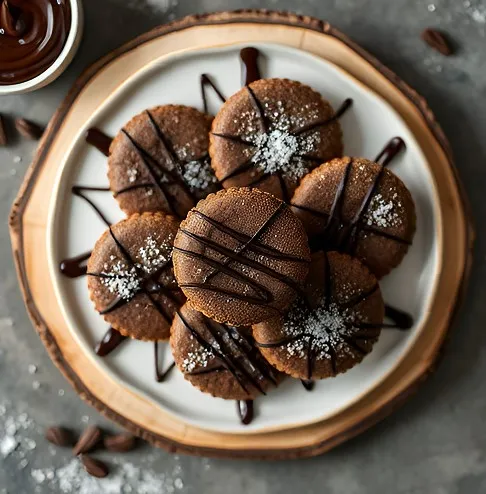
- Sophisticated Decadence: Drizzle a light coat of tempered dark chocolate over cooled cookies, or dust them with powdered sugar and a hint of sea salt for that extra gourmet touch.
With these ideas, you’re not just baking cookies—you’re experimenting with a recipe that can be the centerpiece of a dessert table, a comforting snack, or even a conversation starter at dinner parties. Use this guide as a launch pad to explore your creativity in the kitchen, and don’t be afraid to tweak things until you find your perfect balance.
Conclusion: Your Journey to Wafer Cookies Mastery Begins Now
In mastering these chocolate wafer cookies, you unlock a realm of culinary exploration that melds art, science, and a love for chocolate. From the initial gathering of pantry staples to experimenting with advanced flavor twists, every step offers an opportunity to refine your skills and create something truly memorable. So preheat your oven, roll out that dough, and embark on a baking adventure that promises to delight friends, family, and even yourself. Happy baking—and enjoy every delicious, crisp bite!

